

LAMP Server is a famous web server model.
Lamp server is
L = Linux A = Apache M = Mysql P = Php
It means what is the OS platform you going to install all the applications
L = Linux
What is the web service package you going to use
A = Apache
What is the Database your going to use to store your data
M = MySql
What is the Application you going to write the code and compile
P = PHP
Here i am going to install lamp setup in ubuntu server and configure WordPress on it.
First logn to root in terminal

then update and upgrade the server
apt update && apt upgrade

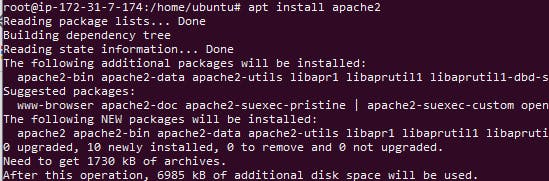
Step 1: Install Apache
We are install the apache web service now.
apt install apache2
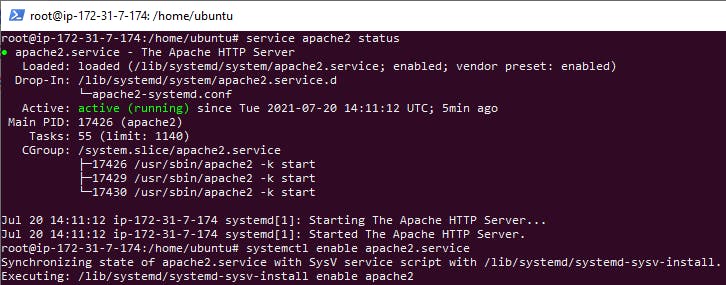
Now check the apache 2 service and set it to enable on startup
systemctl status apache2

systemctl enable apache2.service
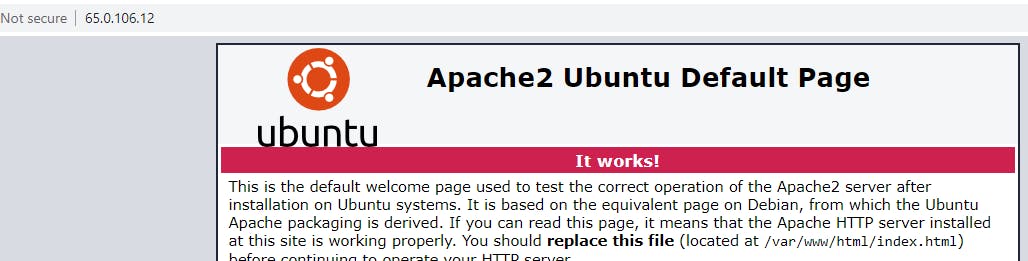
Now check your servers ip address in web.
Output
Step 2: Install MySQL
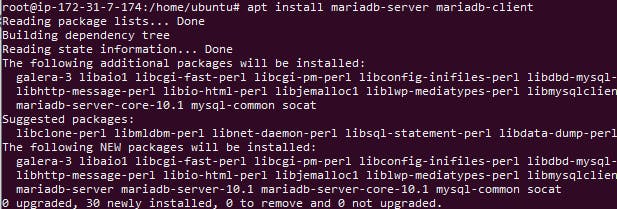
Now we are going to install mysql and configure that.
apt install mariadb-server mariadb-client
Output
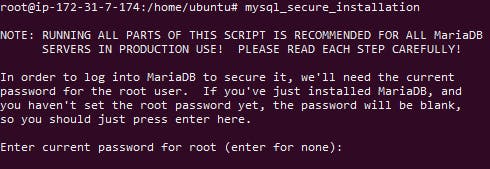
Now we are going to configure mysql.
mysql_secure_installation
first step it asking current root password . just
press enter
then its asks set root password
Press Y
and enter your password
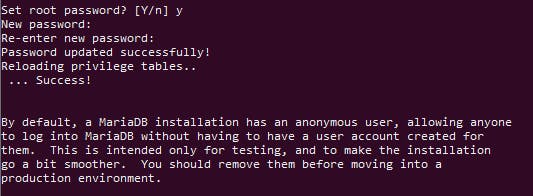
then its asks remove anoynumos users
press Y
Disallow root login remotely
press Y
Remove test database and access to it
press Y
Reload privilege tables now
press Y

now the database instalation part is done.
Step 3: Install PHP
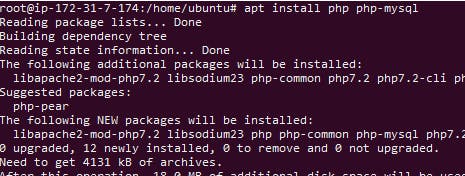
Now we are going to install php.
apt install php php-mysql
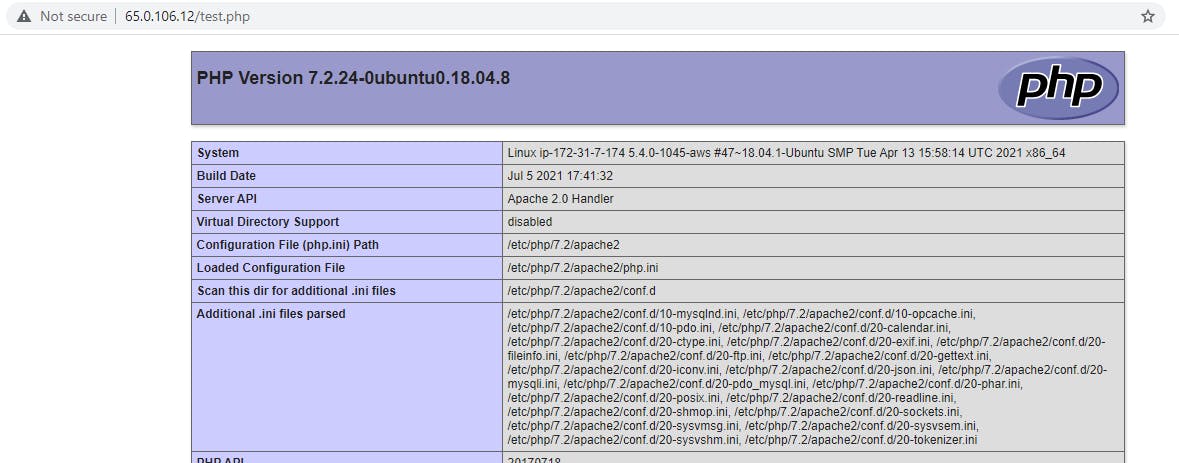
to confirm php is installed and work properly we are going to create one php file(test.php) in the below path
/var/www/html/
echo "<?php phpinfo(); ?>" | sudo tee -a /var/www/html/test.php
 and check it in browser the below syntax
output
Step 4: Create WordPress Database
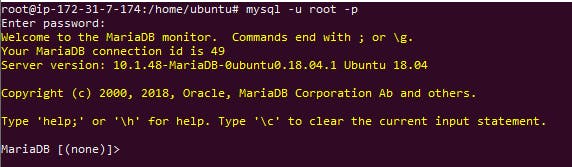
we are going to create database for WordPress on MySQL.
mysql -u root -p
output
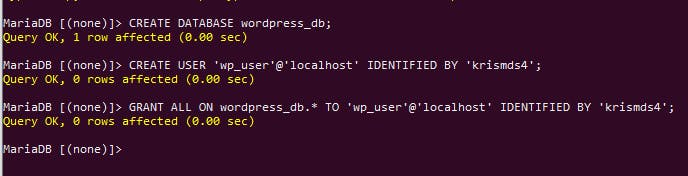
Create a database for our WordPress .
CREATE DATABASE wordpress_db;
create the database user with password
CREATE USER 'wp_user'@'localhost' IDENTIFIED BY 'password';
and grant permission to the database to the user
GRANT ALL ON wordpress_db.* TO 'wp_user'@'localhost' IDENTIFIED BY 'password';
Output
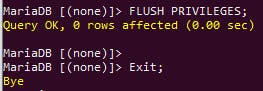
finally flush the privilege and exit hte mysql application
FLUSH PRIVILEGES;

Exit;
Step 5: Install WordPress
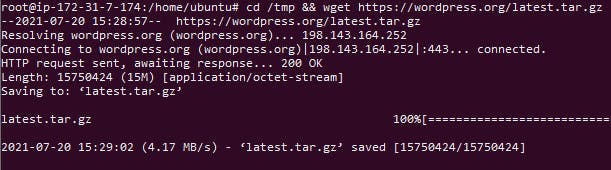
change the tmp directory and download the package from the below URL.
cd /tmp && wget https://wordpress.org/latest.tar.gz
uncompress the tar file using the below command
tar -xvf latest.tar.gz

Copy the wordpress folder to this path /var/www/html/ .
cp -R wordpress /var/www/html/
change ownership of ‘wordpress’ directory uing this command
chown -R www-data:www-data /var/www/html/wordpress/
change the files permissions for the wordpress folder
chmod -R 755 /var/www/html/wordpress/
cretae upload folder in worpress directory and change its permission
mkdir /var/www/html/wordpress/wp-content/uploads

chown -R www-data:www-data /var/www/html/wordpress/wp-content/uploads/

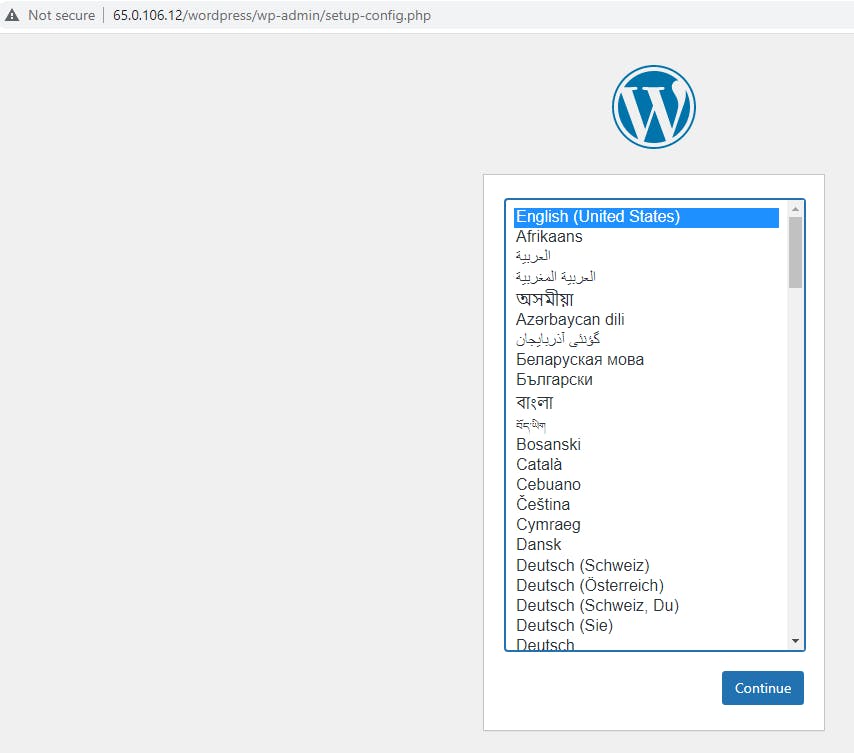
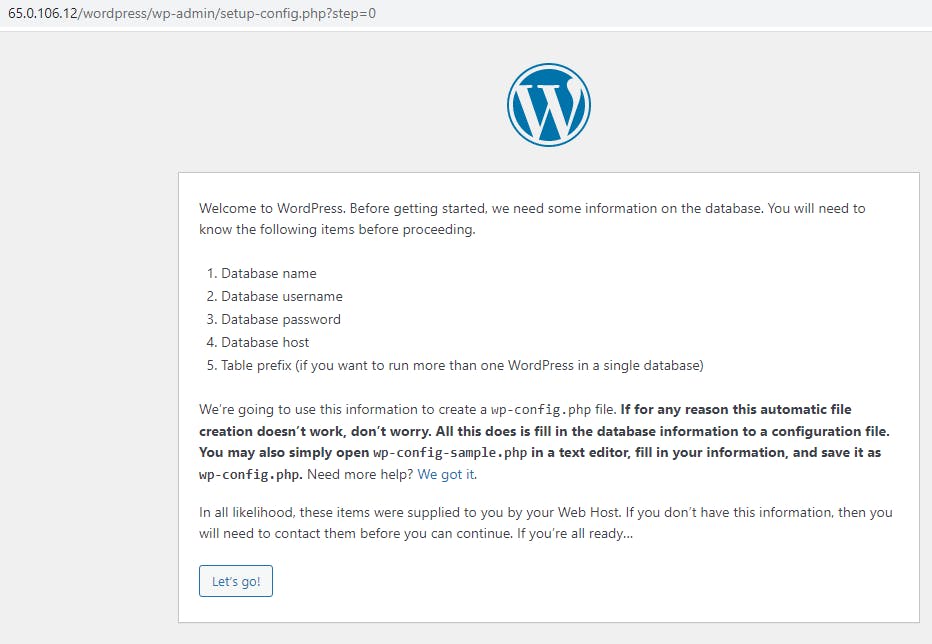
now we are going to install wordpress application via browser.
syntax serverip/wordpress
choose your language and continue
now start the instalation
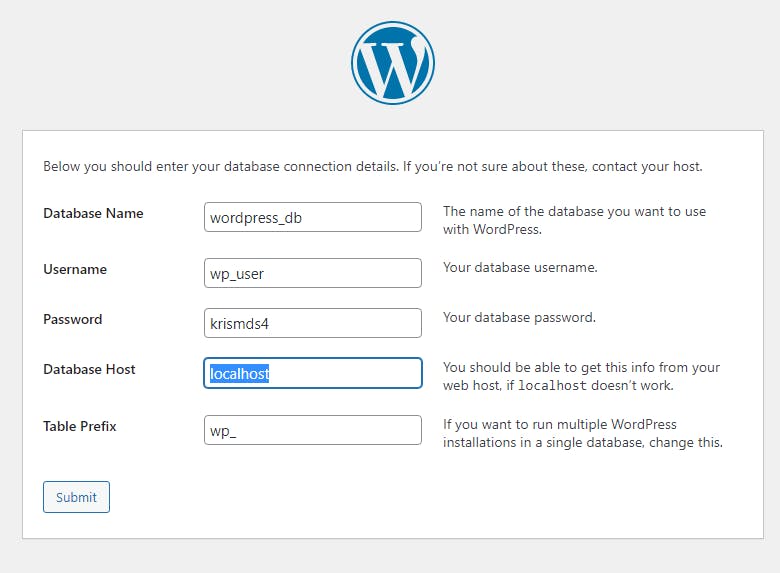
Fill the fields order wise in
database name = database youhave create in MySql
username = enter the dbuser you have created
Password = enter the db user password
databasehost = enter the db server ip (mostly localhost)
table prefix = wp (enter the client or product name first twoletters followed by)
then click the submit button.
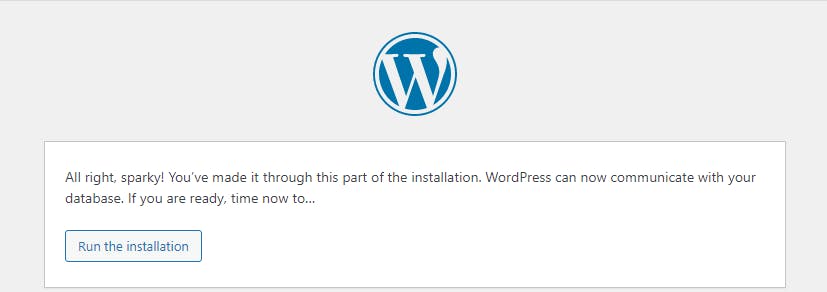
then run the instalation.
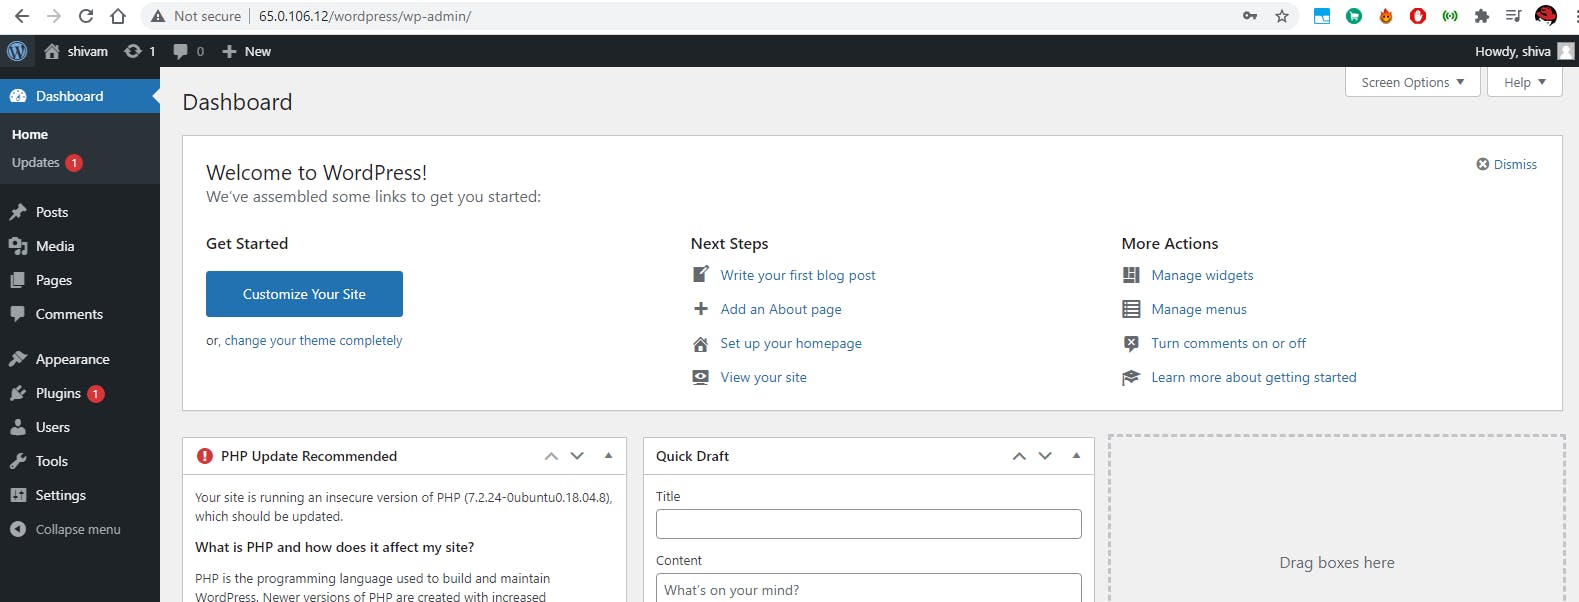
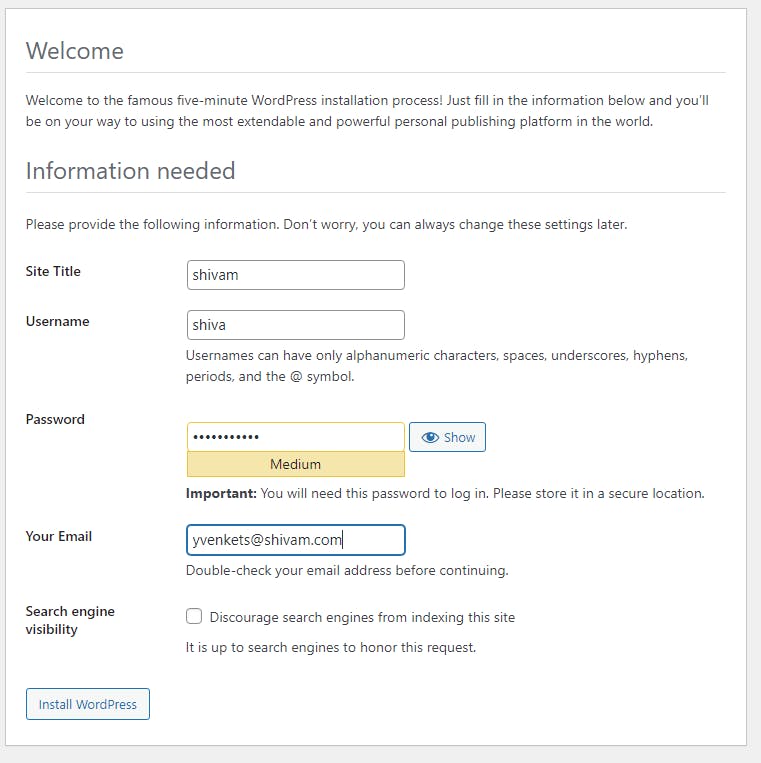
now you are seeing the welcom screen. enter the site credentials,username,password and email.
and finish the installation.
then click the login button and enter your credentials to enter the site.
now you are successfully configured your wordpress instalation and entered the site.