Amazon Elastic Compute Cloud (Amazon EC2) is a web service that provides secure, resizable compute capacity in the cloud. It is designed to make web-scale cloud computing easier for developers.
In the simple words your resizable virtual machine on cloud. you can access anywhere , anytime, any size, any cost, any configuration finally to anyone .its gives the wings for anyone who have internet access.
you can choose 4 types of billing instance.
- On demand instance
- Reserved instance
- Dedicated hosts
- Spot instance
here i am going to explain how to launch the windows instance and how to access it.
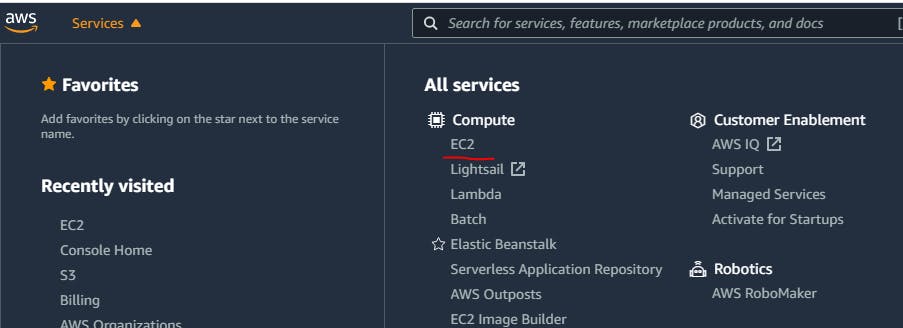
First login to your AWS Account and enter your aws console.select youe ec2 service.
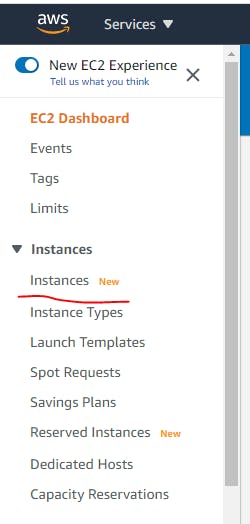
first click the launch instances

Here we see 7 parts of instance configuration section
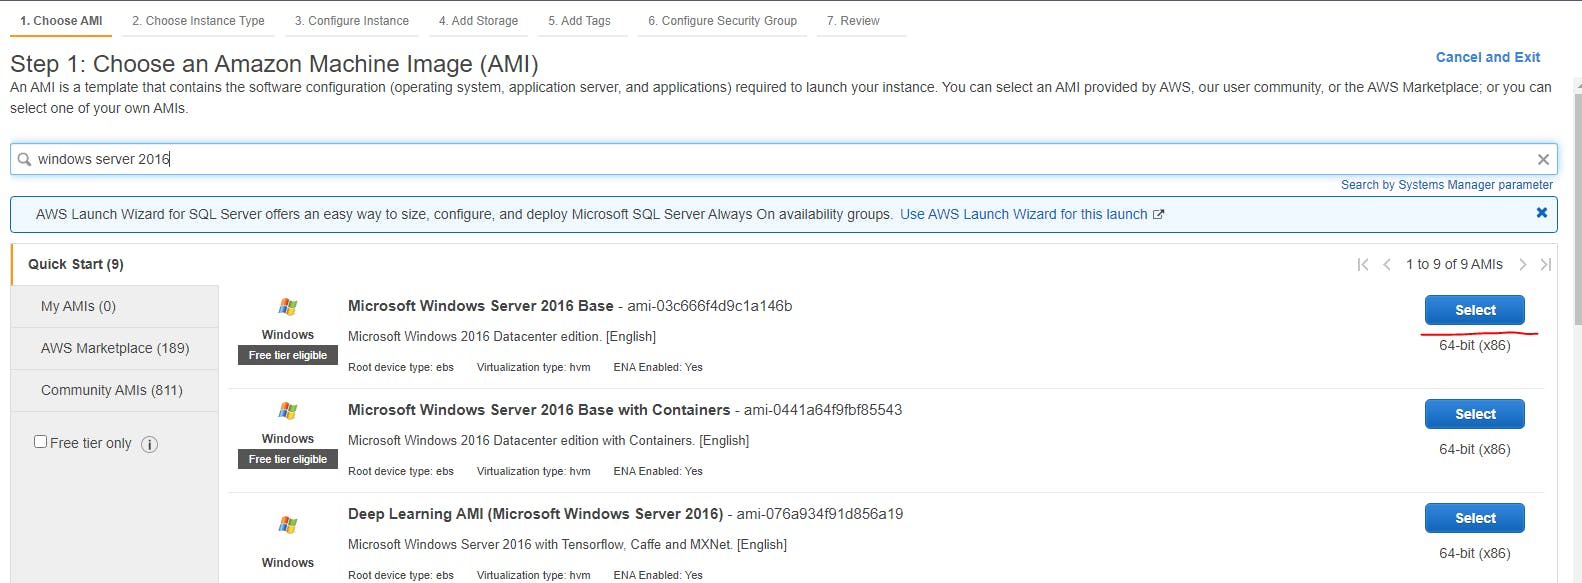
- Choose AMI
- Choose Instance Type
- Configure Instance
- Add Storage
- Add Tags
- Configure Security Group
- Review (Configuration)

Amazon Machine Images (AMI)
Amazon Machine Image is the operating system image. Amazon have its own image repositry and it have all falouvers of linux distros os images that includes all verisons.it includes all os platforms it includes windows ,Linux(ubuntu,amazon linux,Redhat) windows server 2012,2016,2019,, mac os sieera.also it bundels with microsoft sql preinstalled with windows servers.

actually every instance had 3 main configuration.
processor core count
RAM Capacity
Harddisk Storage Size
Amazon have many combination of instance types. Below is the major types based to specify.
- General purpose instances
- Compute optimized instances
- Memory optimized instances
- Storage optimized instances
we will select the instance type .here i am select t2 micro

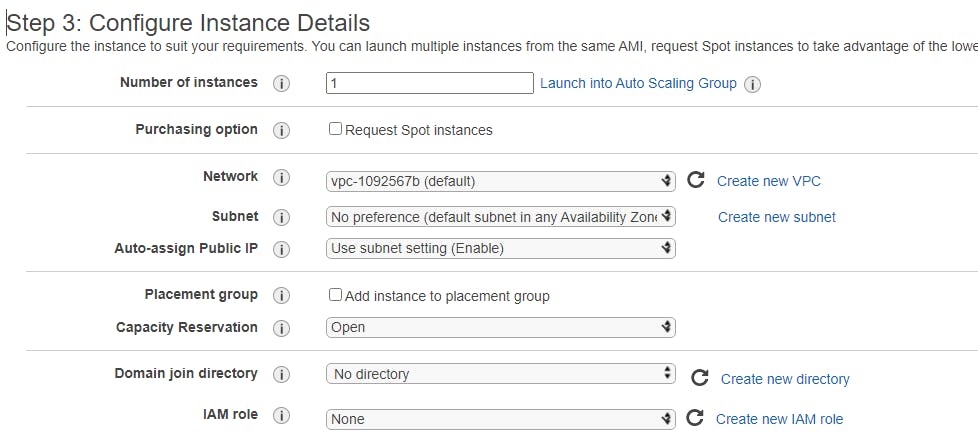
here we are going to configure instance details.###
1.first one is how many number of instance we will going to launch
2.if you are going to choose spot instanc emeans select this
3.its network part here you going to select VPC which is your Ec2 is part of the network.
4.select which subnet in the vpc
5.selct the public ip assign setting.if you plan to connect your instance through your vpn disable this settings. after four options we are rarely used.
6.placement group Its nothing but clusters instances into a low-latency group in a single AZ. you can cretae the place ment group and this instance part of it.
7.capacity reservation its reserver the capicty firat .if you are going to use maximum amount of ram or processor core other compuetr configuration.here you can create the resevation first.
8.Domain join directory if you have any active directory or LDAP servers and your server wants thepart of it configure here.
9.IAM role If you want your server access any of the aws service with out any credentials use this option.
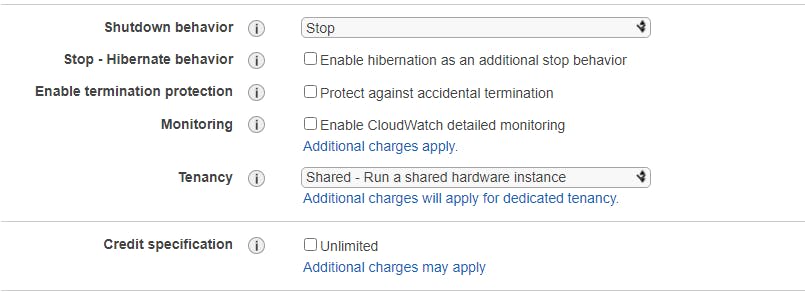
Here i have explain some other specification you want to configure
Shutdown behaiviour if youe choose the shut down in tnthe web console what action want to made.
Stop or hibernate behaviour.
if you want your server to be freze state and that time you wont get charged.
Termination behavior.
if accidently terminate the instance mean all your data will be lost. here you can configure deny termination .so that you cant accidently terminate it.
Monitor your server usage and health performance.
Tenancy means if you use on demand instance your host will be share many of its customers.
Credits specification means Selecting Unlimited for the credit specification allows applications to burst beyond the baseline for as long as needed at any time. If the average CPU utilization of the instance is at or below the baseline, the hourly instance price automatically covers all usage. Otherwise, all usage above baseline is billed.
In the section are advanced configuration.we will skip all.
final one is user data. If yo want install any package or configure anything before you connect the instance. Here you will give the input as script.it will executed at boot time.

Add Storage
Here you can configure your servers root partition size. Its default size for windows is 30 and Linux is 15. you can increase the size. Also you can add secondary drive here.

Add tags
if you tag your server os wise /applicaton wise/usgae wise/team wise. its mian use is identify which reosurece take large amount in billing.

Configure security group
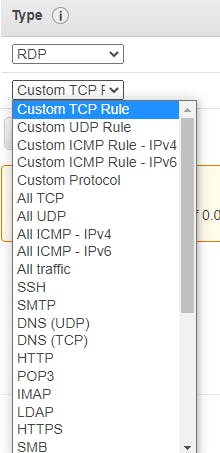
Here you can allow which ports want to be open for your server. all Linux instance needs SSH (22) for communication. all windows instance needs RDP (3389) for communication.

you also open some other protocals and ports to be open here.
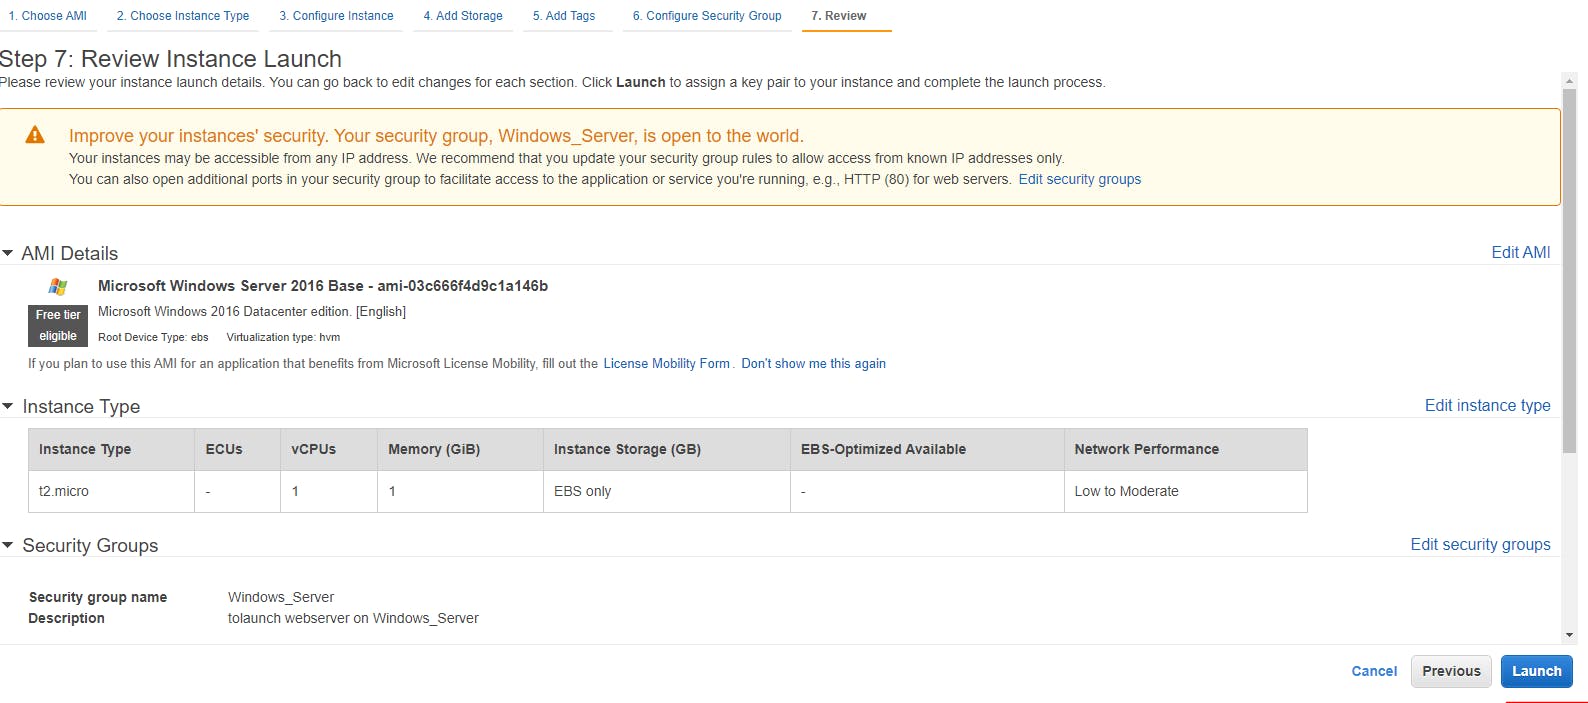
Review section
here you review all the 6 configuration before you going to launch the server.
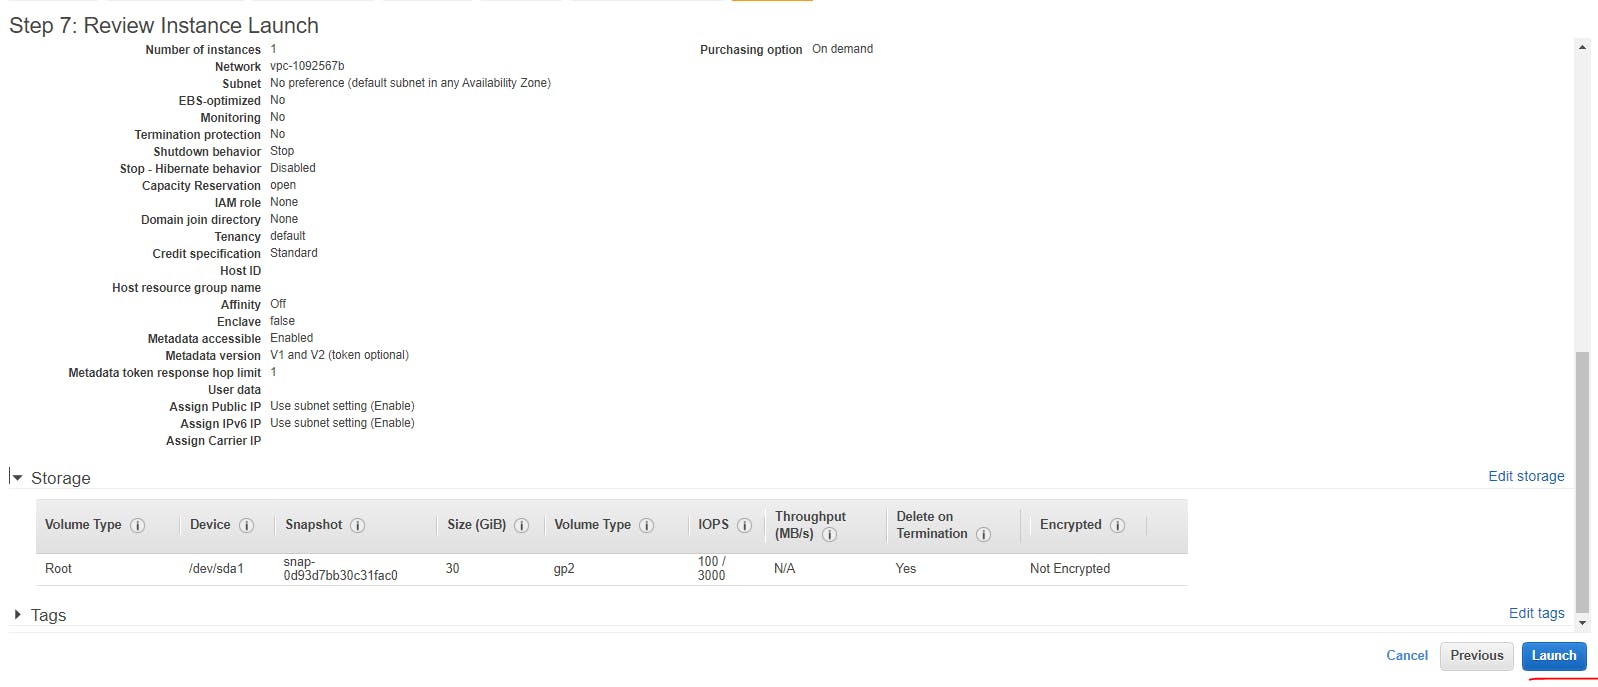
AWS EC2 service provides high level security to protect your instance for deny the unautherzied access .
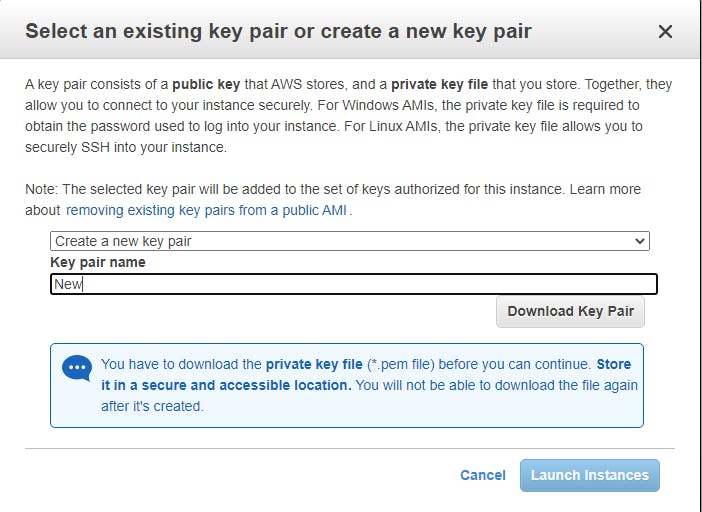
aws A key pair, consisting of a public key and a private key, is a set of security credentials that you use to prove your identity when connecting to an EC2 instance.
here you can create the new key pair and download it .then launch the instance.
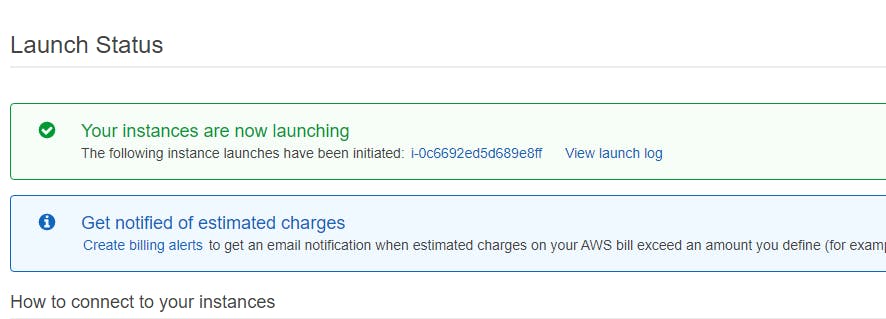
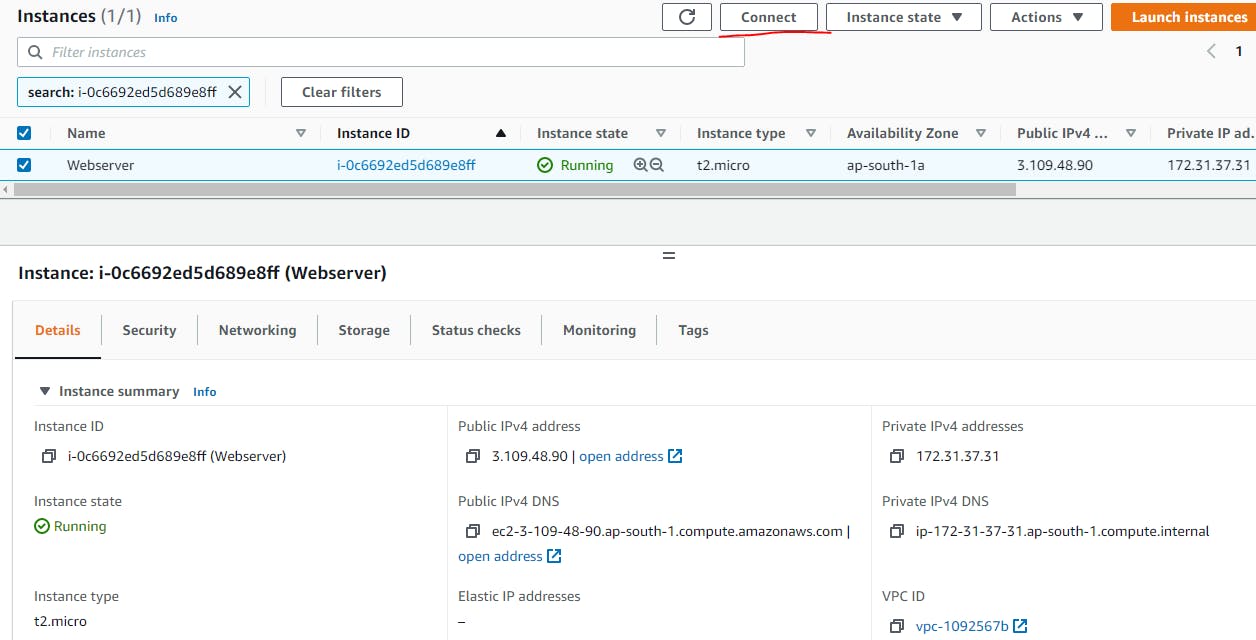
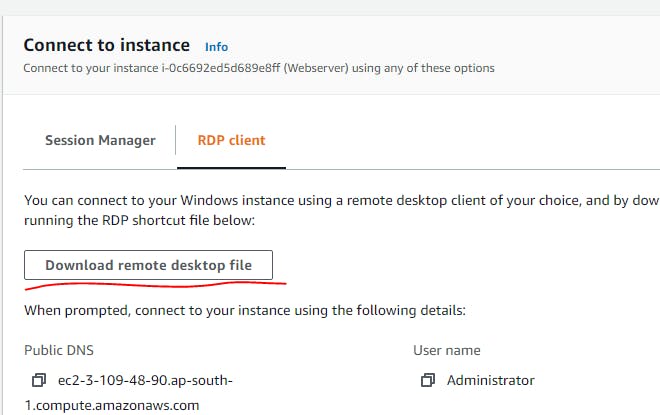
after that you can get your instance details in the aws console. and click connect button to get the server connection details.
download the RDP file to connect the instance.
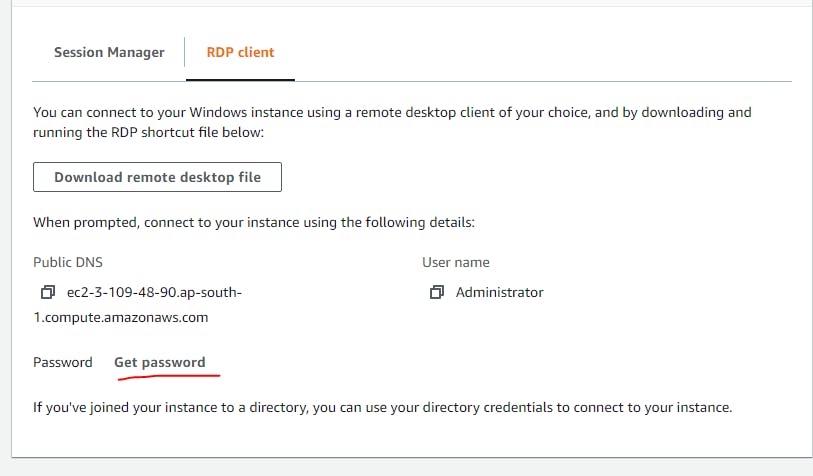
 Click get password
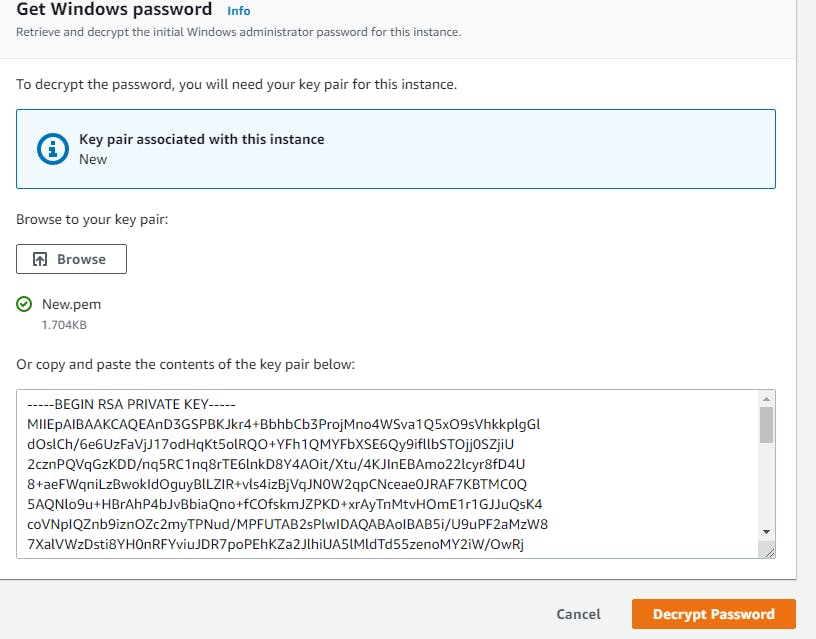
 select browse and select the downloaded keypair and click decrypt password
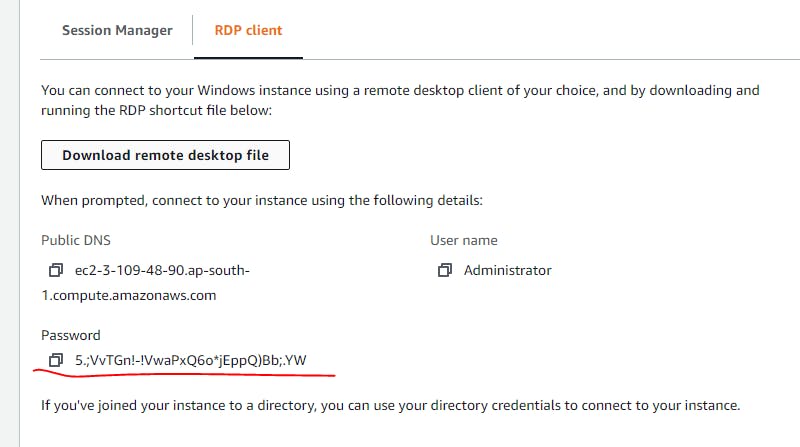
Now you can view your password copy it.
open the downloaded RDP file .
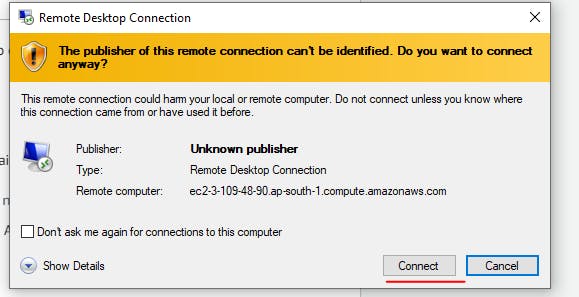
enter the the password you decrypt from keypair
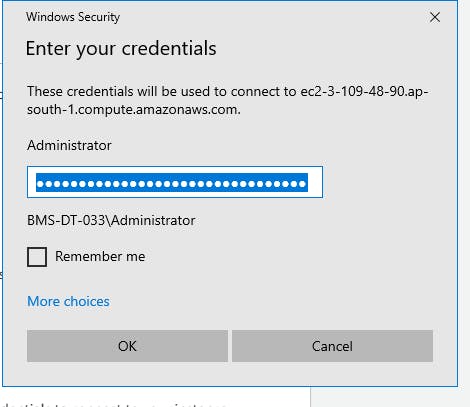
Finally you successfully launch your first aws windows instance and access it through RDP.


